Websites | 5. Editing Your Heading & Footer
QUICK NOTE:
Under this section, we can edit the following sections:
For Header:

- Logo for the website
- Adding/Removing the Menu elements
- Customizing/Formatting the Menu Style, etc
For Footer:
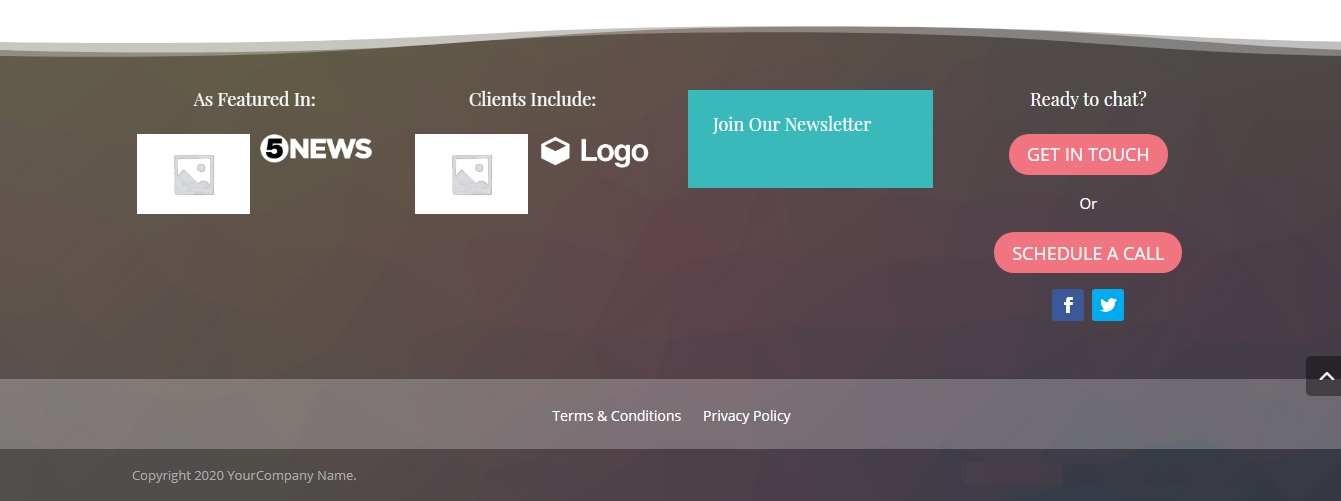
- Background image/gradient for the website footer
- Add/Update the buttons in the footer
- Add/Update the social media buttons
- Add/Update the Newsletter/Organisations logo you are associated with, etc
How to update/edit the website logo?
The website logo comes under the header section.
To update/edit the logo, our clients can follow these steps listed below:
- Login your website using the details (email address and password) and Go to the Dashboard section.
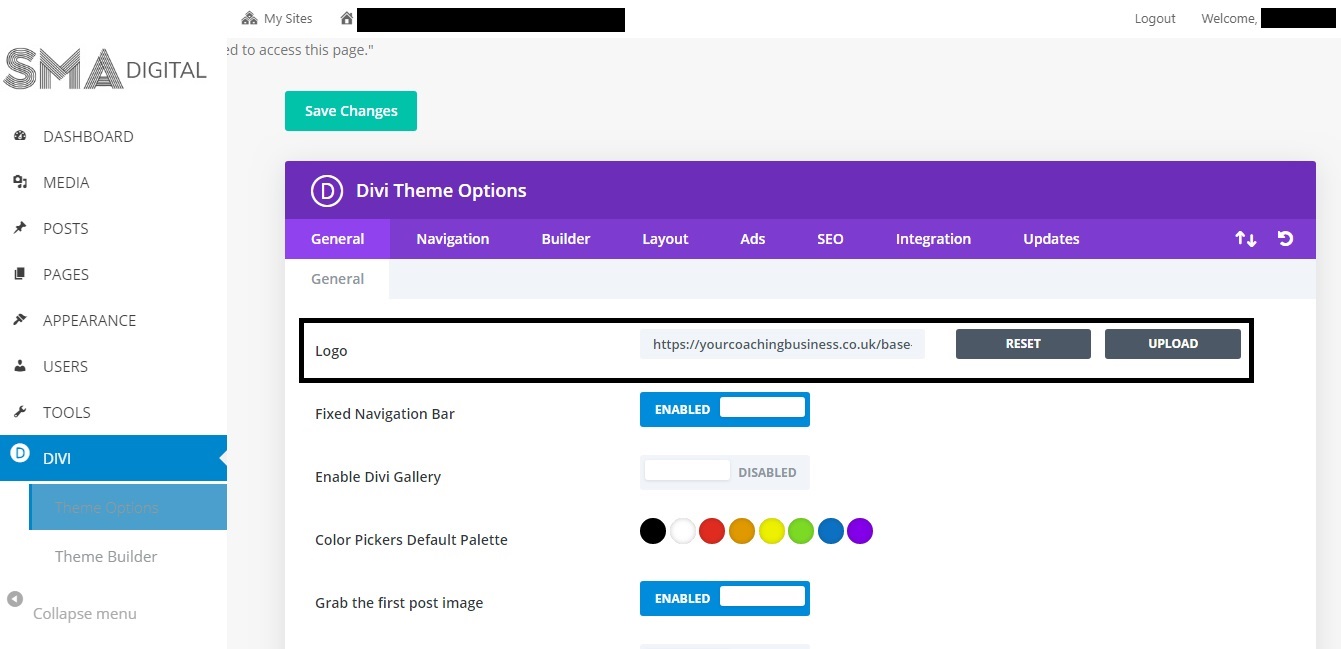
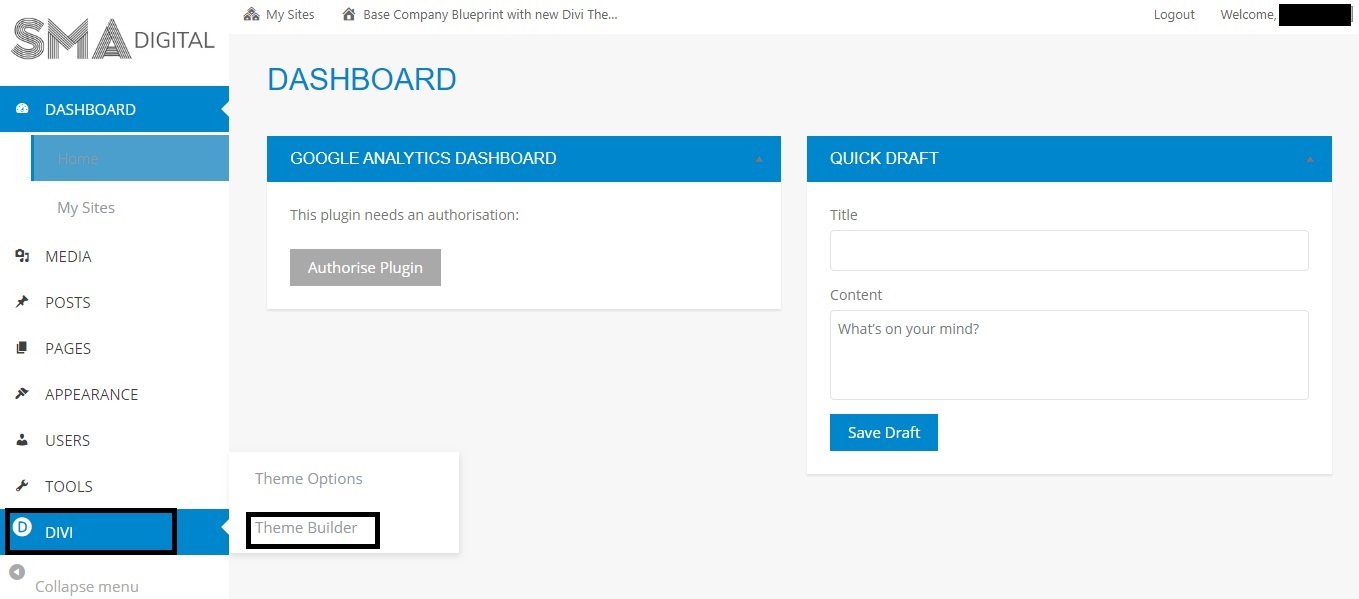
- Inside the Dashboard, visit the Theme Options under the DIVI section.
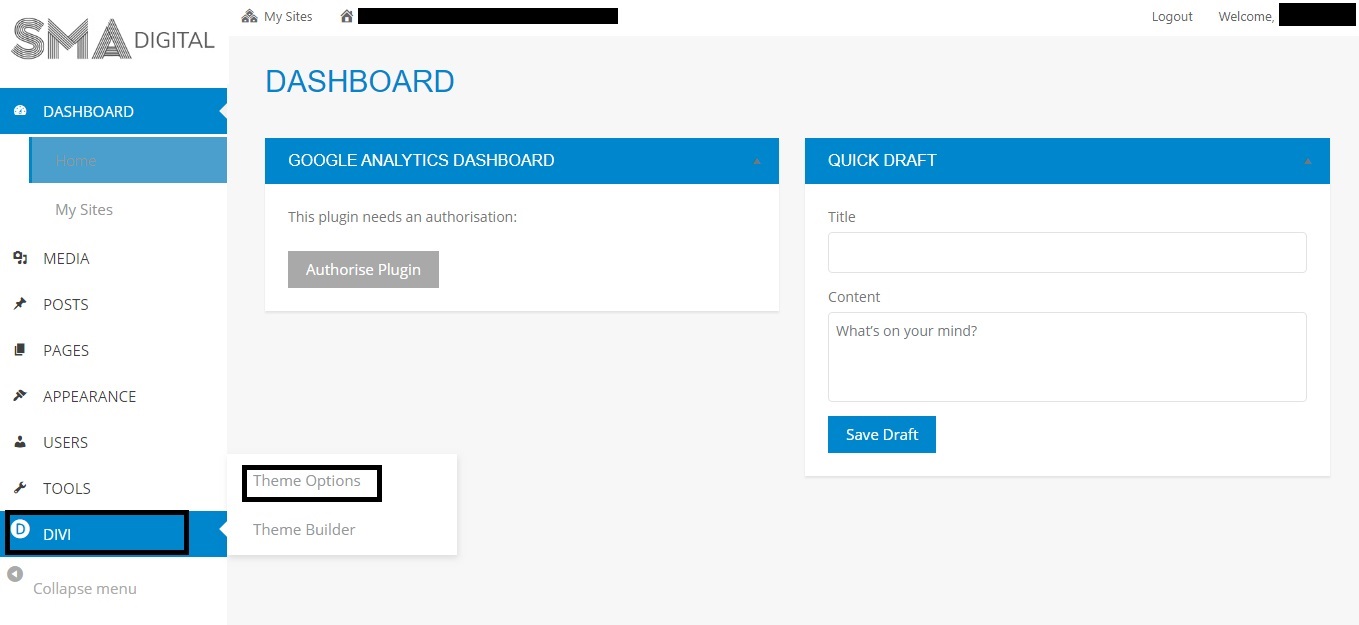
- Inside Theme Options, Upload the website logo in the Logo section. After uploading, don’t forget to hit the Save Changes button present at the bottom of the page.
How to add/remove the menu elements?
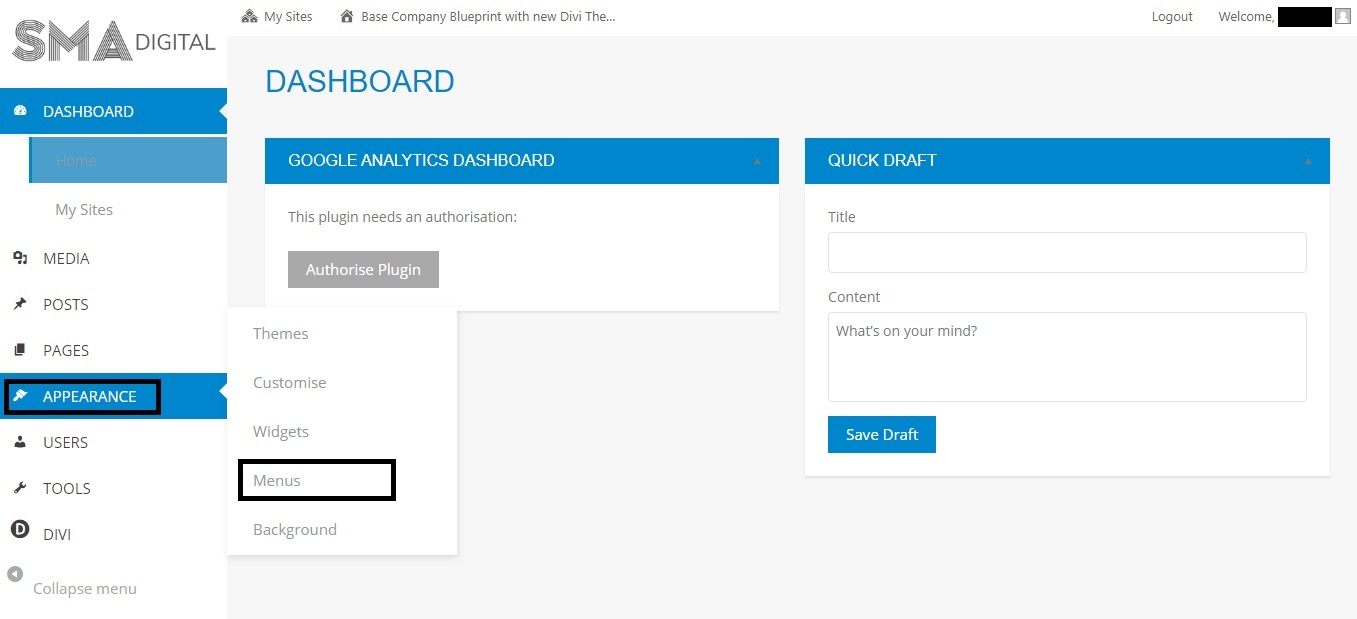
- Go to the Dashboard inside your portal.
- Under the APPEARANCE section, Click on the Menu tab for adding the new page in the Menu Bar.
- Under this section, you can perform the following tasks:
-Re-arrange the order of elements/pages in Menu Bar by dragging the elements/pages to their desired position.
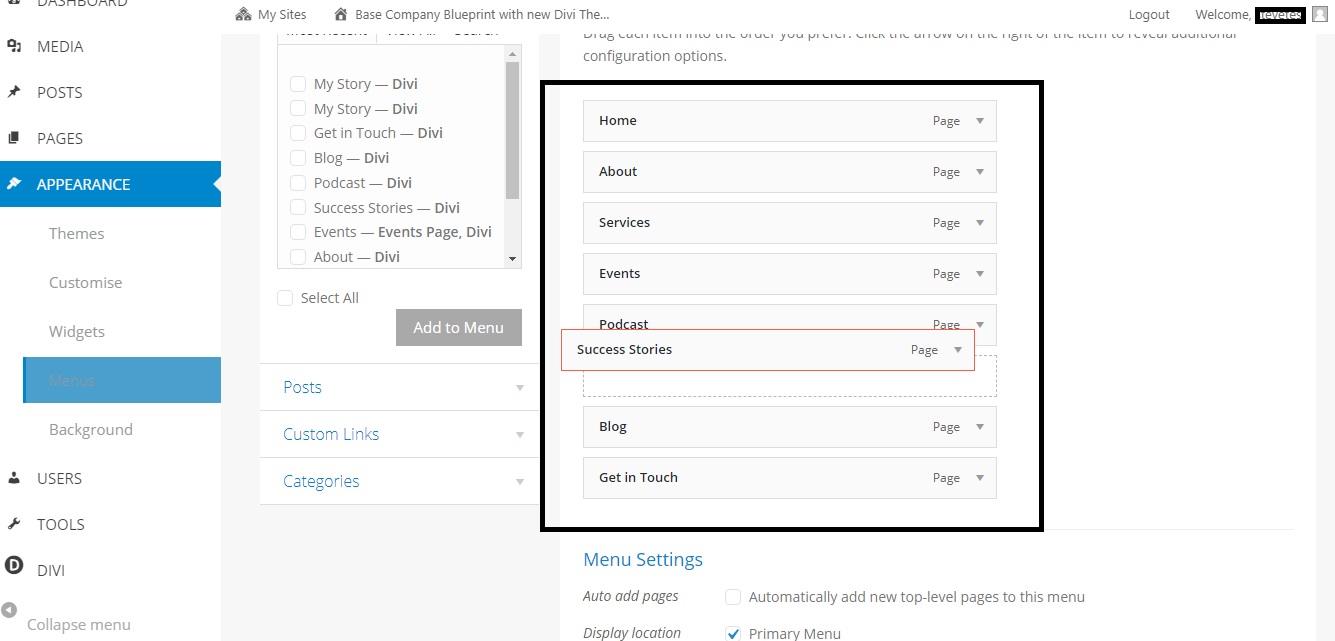 -Adding the new pages to the Menu Bar by selecting the pages from the list and click on Add to Menu button.
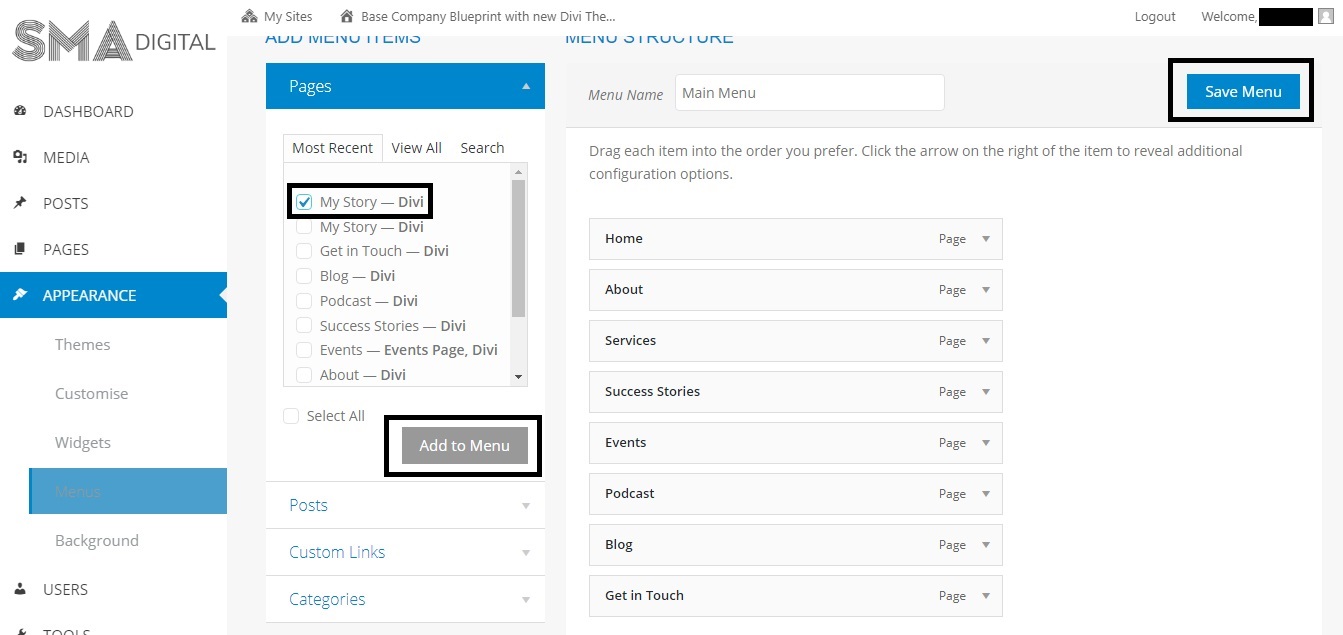
- After making the changes, don’t forget to hit the SAVE MENU button.
How to create a drop-down menu?
- Go to the Dashboard inside your portal.
- Under the APPEARANCE section, Click on the Menu tab for adding the pages in the drop-down menu.
- In this section, you can add the specific page under the desired element/page of the menu bar by dragging the specific page under that page of the menu bar (as sub-item).
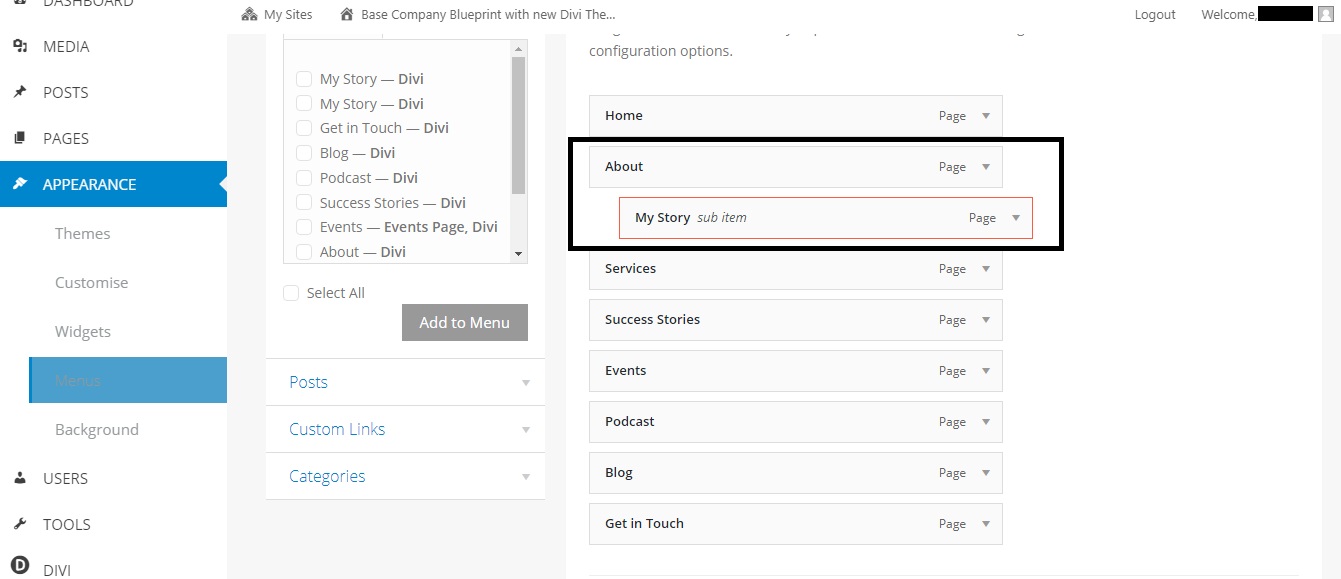
- After making the changes, don’t forget to hit the SAVE MENU button.
How to update/edit the background image/gradient for website footer?
- Go to the Dashboard inside your portal.
- Visit the Theme Builder under the DIVI section.
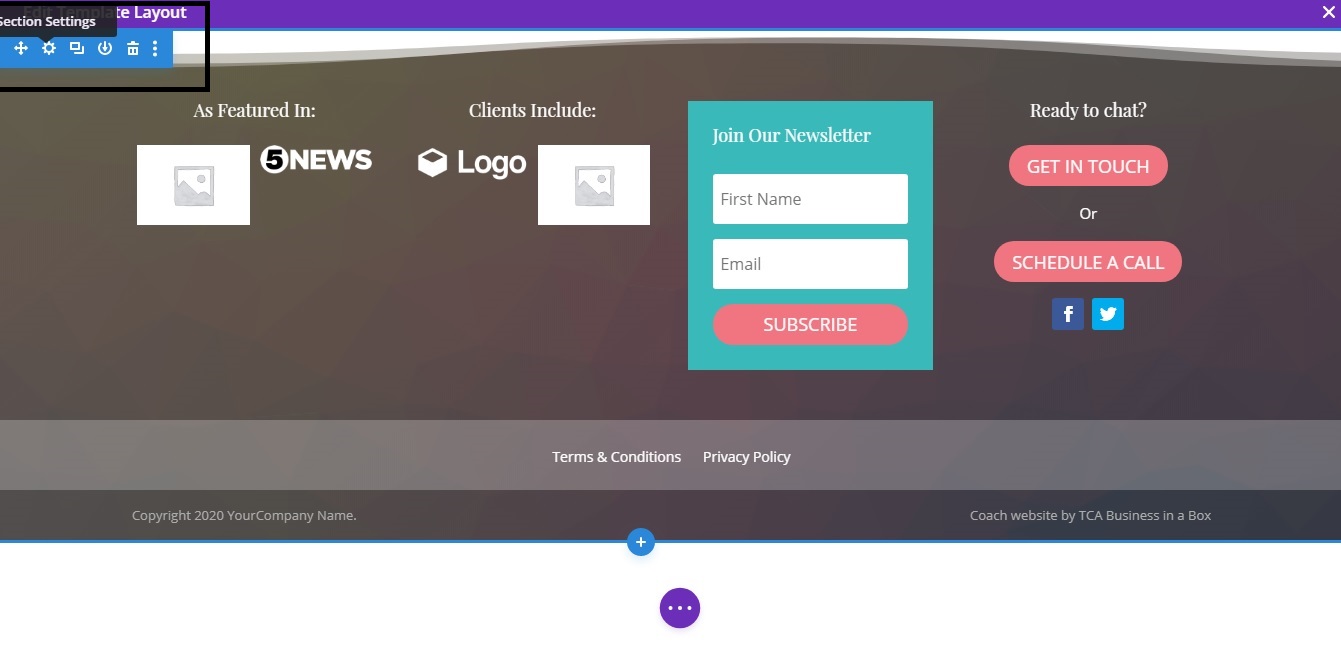
- Inside Theme Builder, click on Edit icon of the Global Footer.

- Inside the layout, Click on the Section Settings icon to edit/update the background image for the whole section.
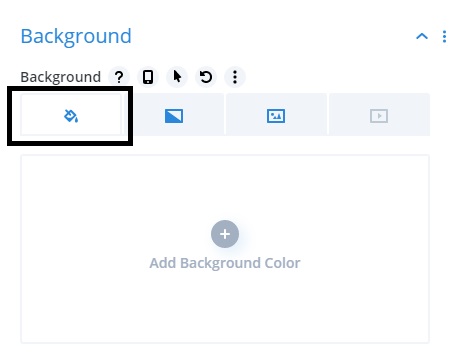
- Inside Section Settings, Click on the background tab.

- We have multiple options to set up the background image for the footer:
-Adding a single uniform background-color
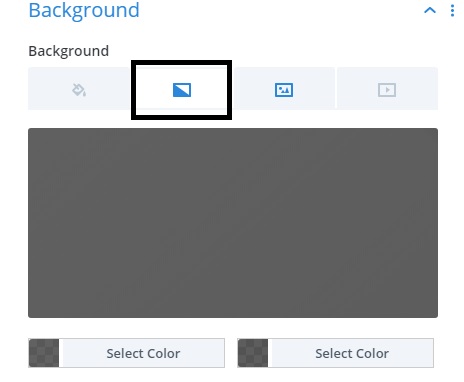
-Adding a color gradient (specifies a range of position-dependent colors, usually used to fill a region.)
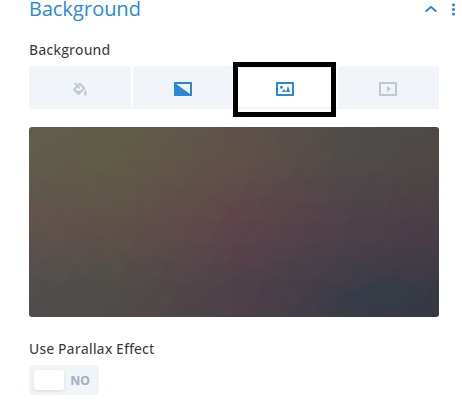
-Adding an image as the background
 -Adding a video as background
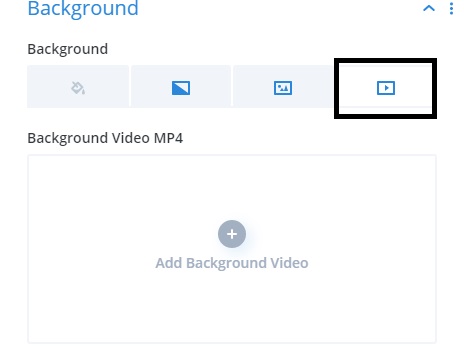
- After updating the background image click on the GREEN tick button to save the changes.
- Also, don’t forget to hit the circular three-dot button present at the bottom of the screen and then click on the SAVE button to save the final changes before taking an exit from the Footer Layout section.

How to add/delete/update a button in the footer?
- Go to the Dashboard inside your portal.
- Visit the Theme Builder under the DIVI section.

- Inside Theme Builder, click on Edit icon of the Global Footer.
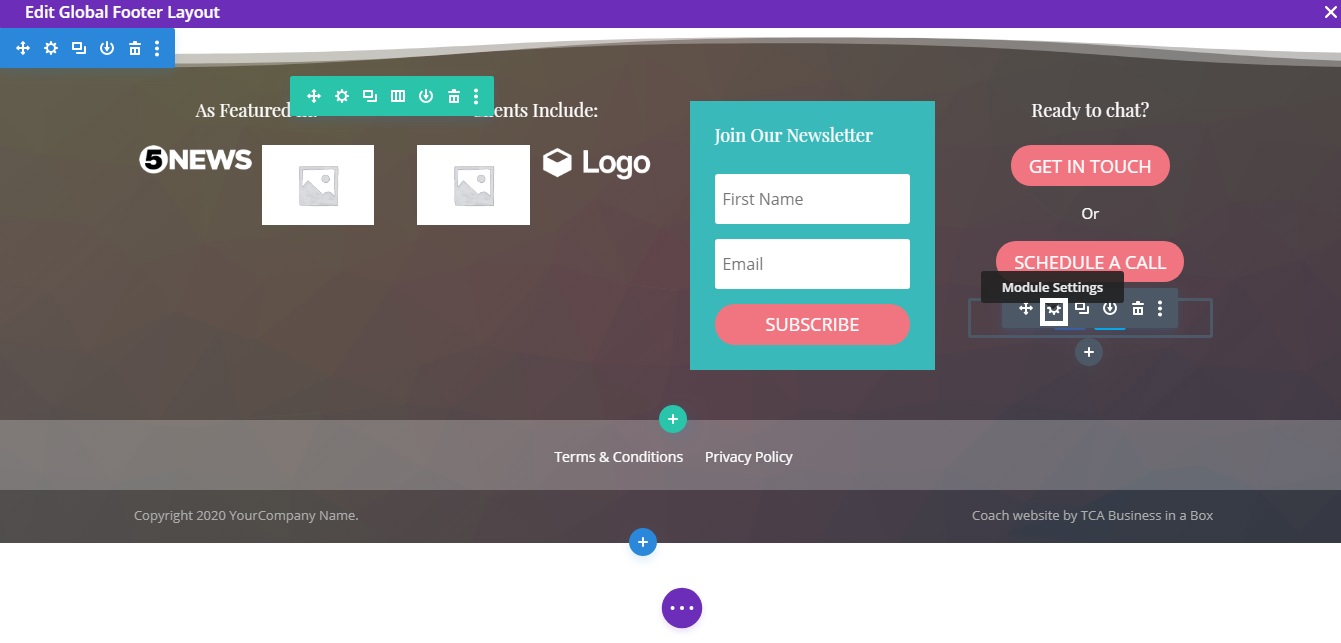
- Inside the layout, you can add a button/text/picture/or any other module anywhere in the footer by click on the + sign.
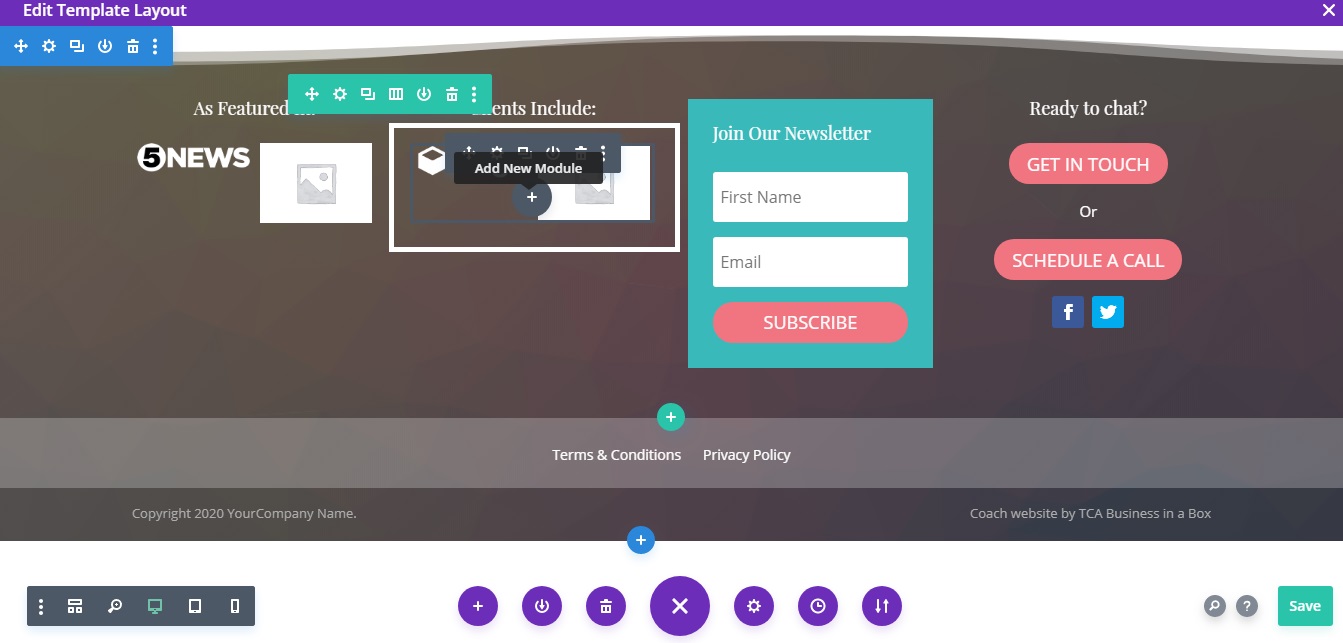
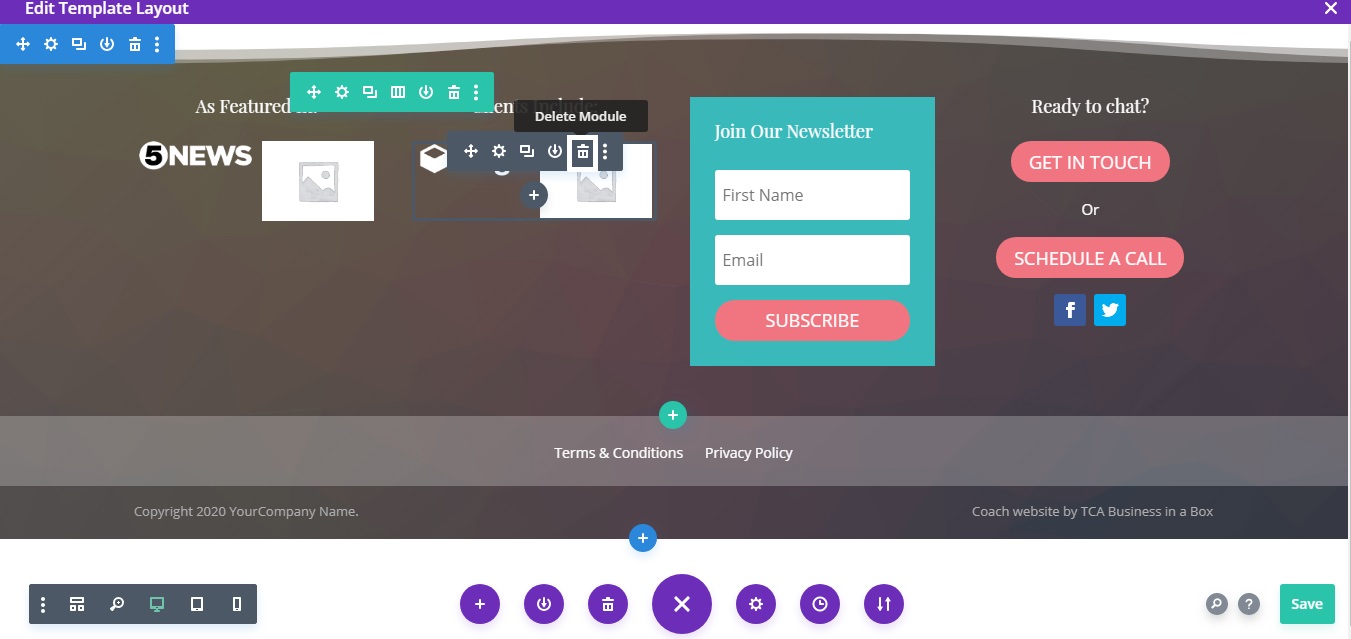
- You can also delete any button/text/picture/any other module by placing the cursor on that module and then click on the BIN icon.
- To update the text and link of the button, follow these quick steps:
-Click on the Module Settings icon of the button you wish to update.
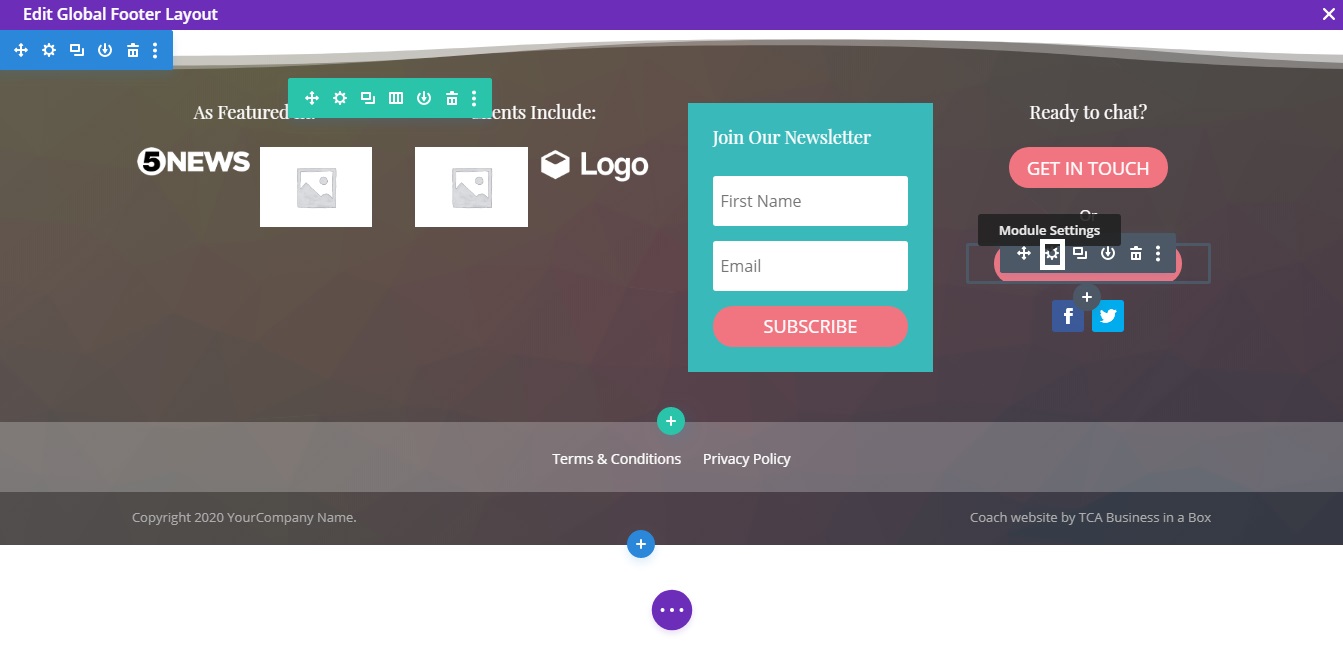
-Update the button text in the Text section.
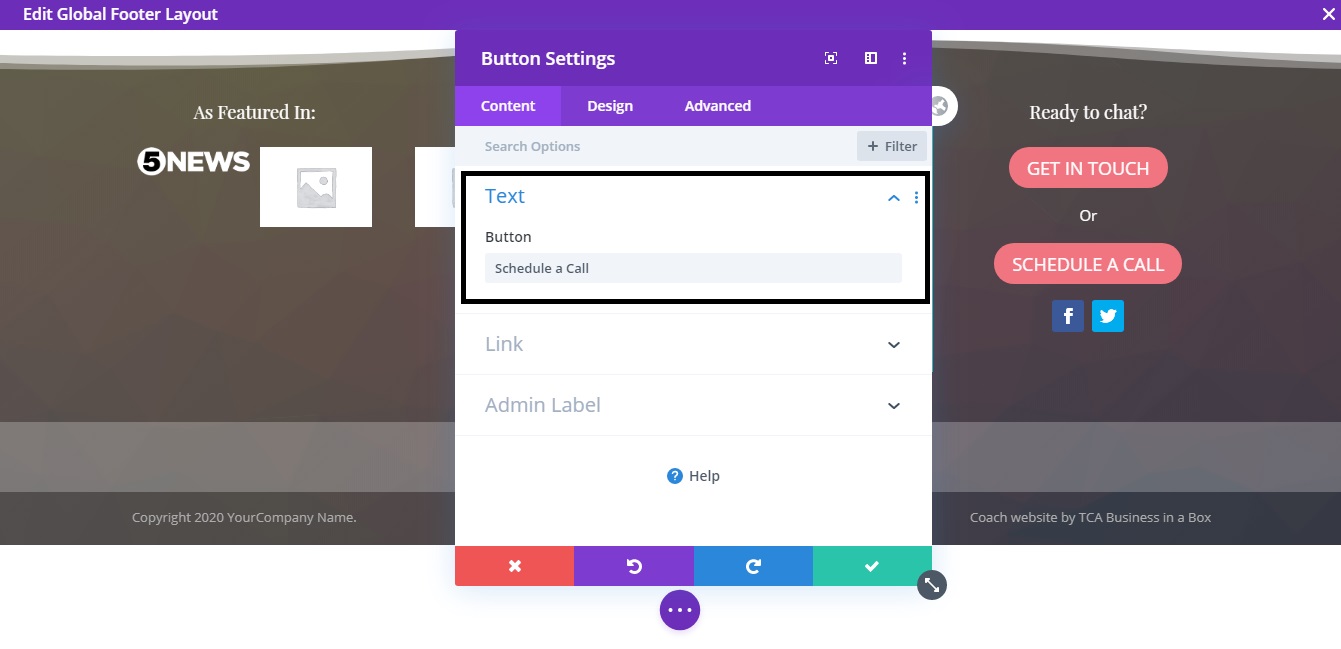
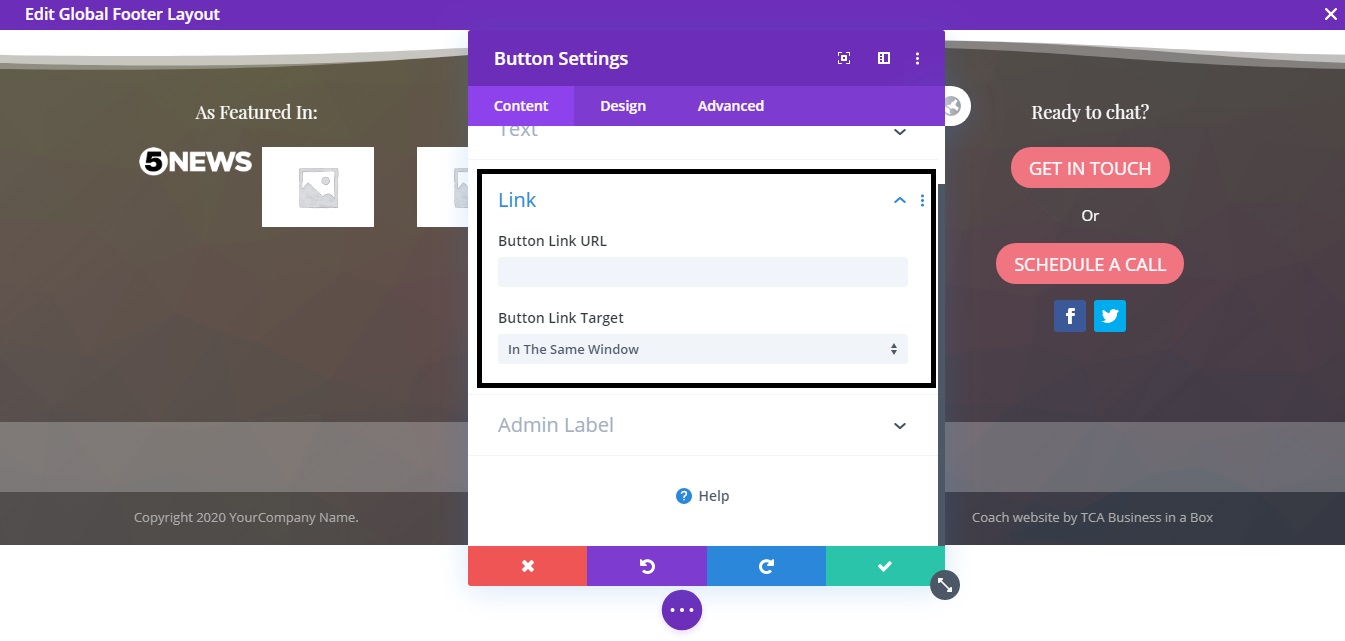
-Update the button link URL in the Link section.
- Don’t forget to save the changes before exit.
How to update the social media buttons?
- Go to the Dashboard inside your portal.
- Visit the Theme Builder under the DIVI section.
- Inside Theme Builder, click on Edit icon of the Global Footer.
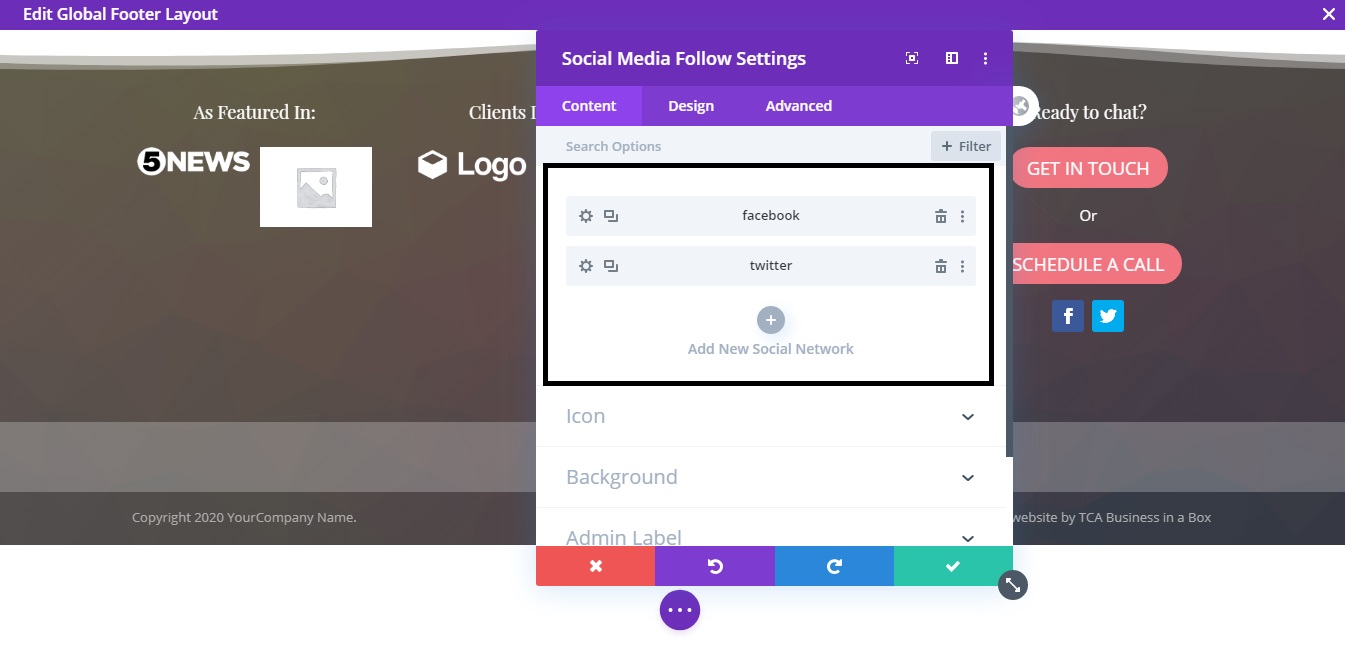
- Inside the layout, click on Module Settings of the social media buttons module.
- Inside the Settings, you can add a social media network by using + sign, delete a social media network by using bin icon and also update the link of the existing social media network by using settings icon.
- Don’t forget to save the changes before exit.
How to add/Update the Newsletter/Organisations logo you are associated with?
- Go to the Dashboard inside your portal.
- Visit the Theme Builder under the DIVI section.
- Inside Theme Builder, click on Edit icon of the Global Footer.
- To update the Newsletter, click on the Module Settings of the Newsletter module.
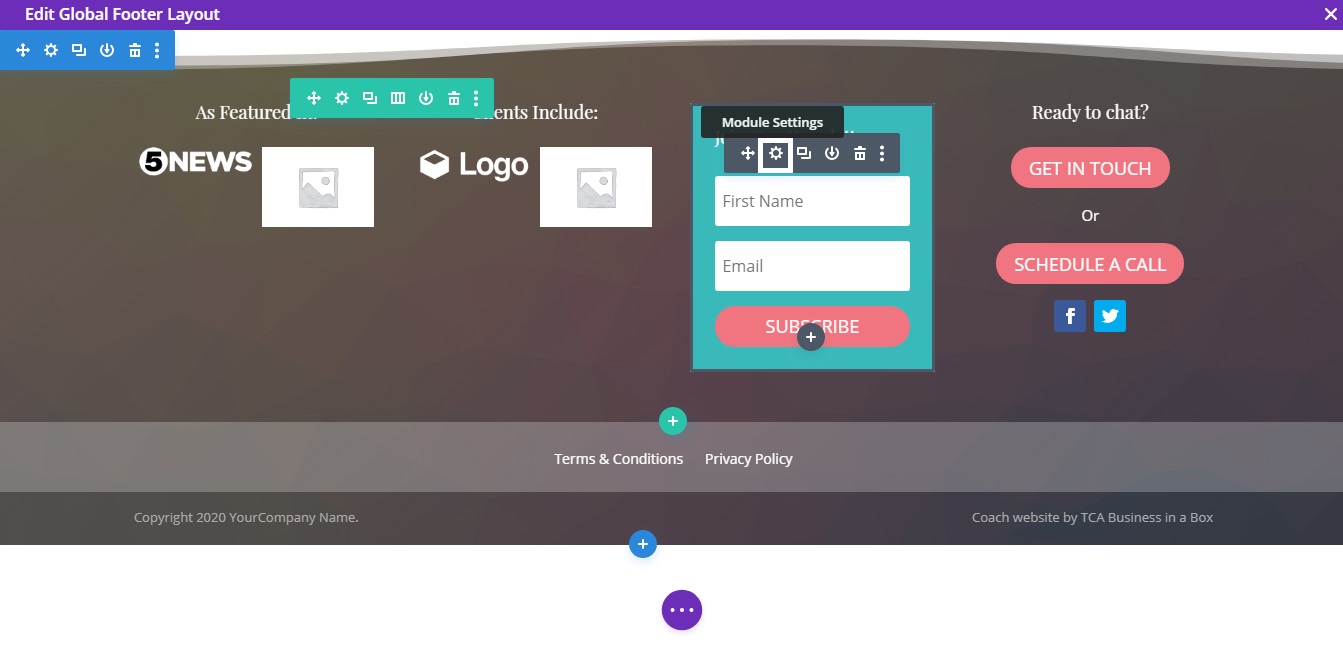
- Inside the settings, you can update the following fields:
-Title of the Newsletter Box and button
-Connect your CRM to Newsletter for automated responses
-Add additional fields to Newsletter form like First Name, Last Name, etc - To update the organization logo, you can simply add its image as an image module. To know more you can visit these resources.
- Don’t forget to save the changes before exit.
SAVING THE FINAL CHANGES
After making all the changes, don’t forget to save the changes by clicking on 3 circular dots present at the bottom of the screen and then hit the Save button.


If you’re still a bit confused, you can always contact us at support@smadigital.co.uk and we’ll be happy to help!